User Form (form.yml.erb)
The configuration file form.yml creates the html form your customers will use
to start the interactive application.
Let's look at a simple example of how the main components form and attributes work.
form is a list of form choices for the application. attributes is then specifying
what those items in form are, whether they're number fields or choices and so on.
# ${HOME}/ondemand/dev/my_app/form.yml
---

# the cluster(s) this app can submit jobs to.
cluster: "owens"

# 'form' is a list of form choices for this app. Here we're allowing users to set
# the account and the number of cores they want to request for this job.
form:
  - account
  - cores

# By default, everything defined in 'form' above is a text_field. Let's leave account alone
# We do however, want cores to be a number_field and with some min & max values.
attributes:
  cores:
    widget: 'number_field'
    min: 1
    max: 40
It is located in the root of the application directory.
Assuming we already have a sandbox Interactive App deployed under:
${HOME}/ondemand/dev/my_app
The form.yml configuration file can be found at:
${HOME}/ondemand/dev/my_app/form.yml
Then in the browser, navigate to the dashboard and choose in the top right menu: Develop → My Sandbox Apps (Development). Finally click Launch My App from the list of sandbox apps.
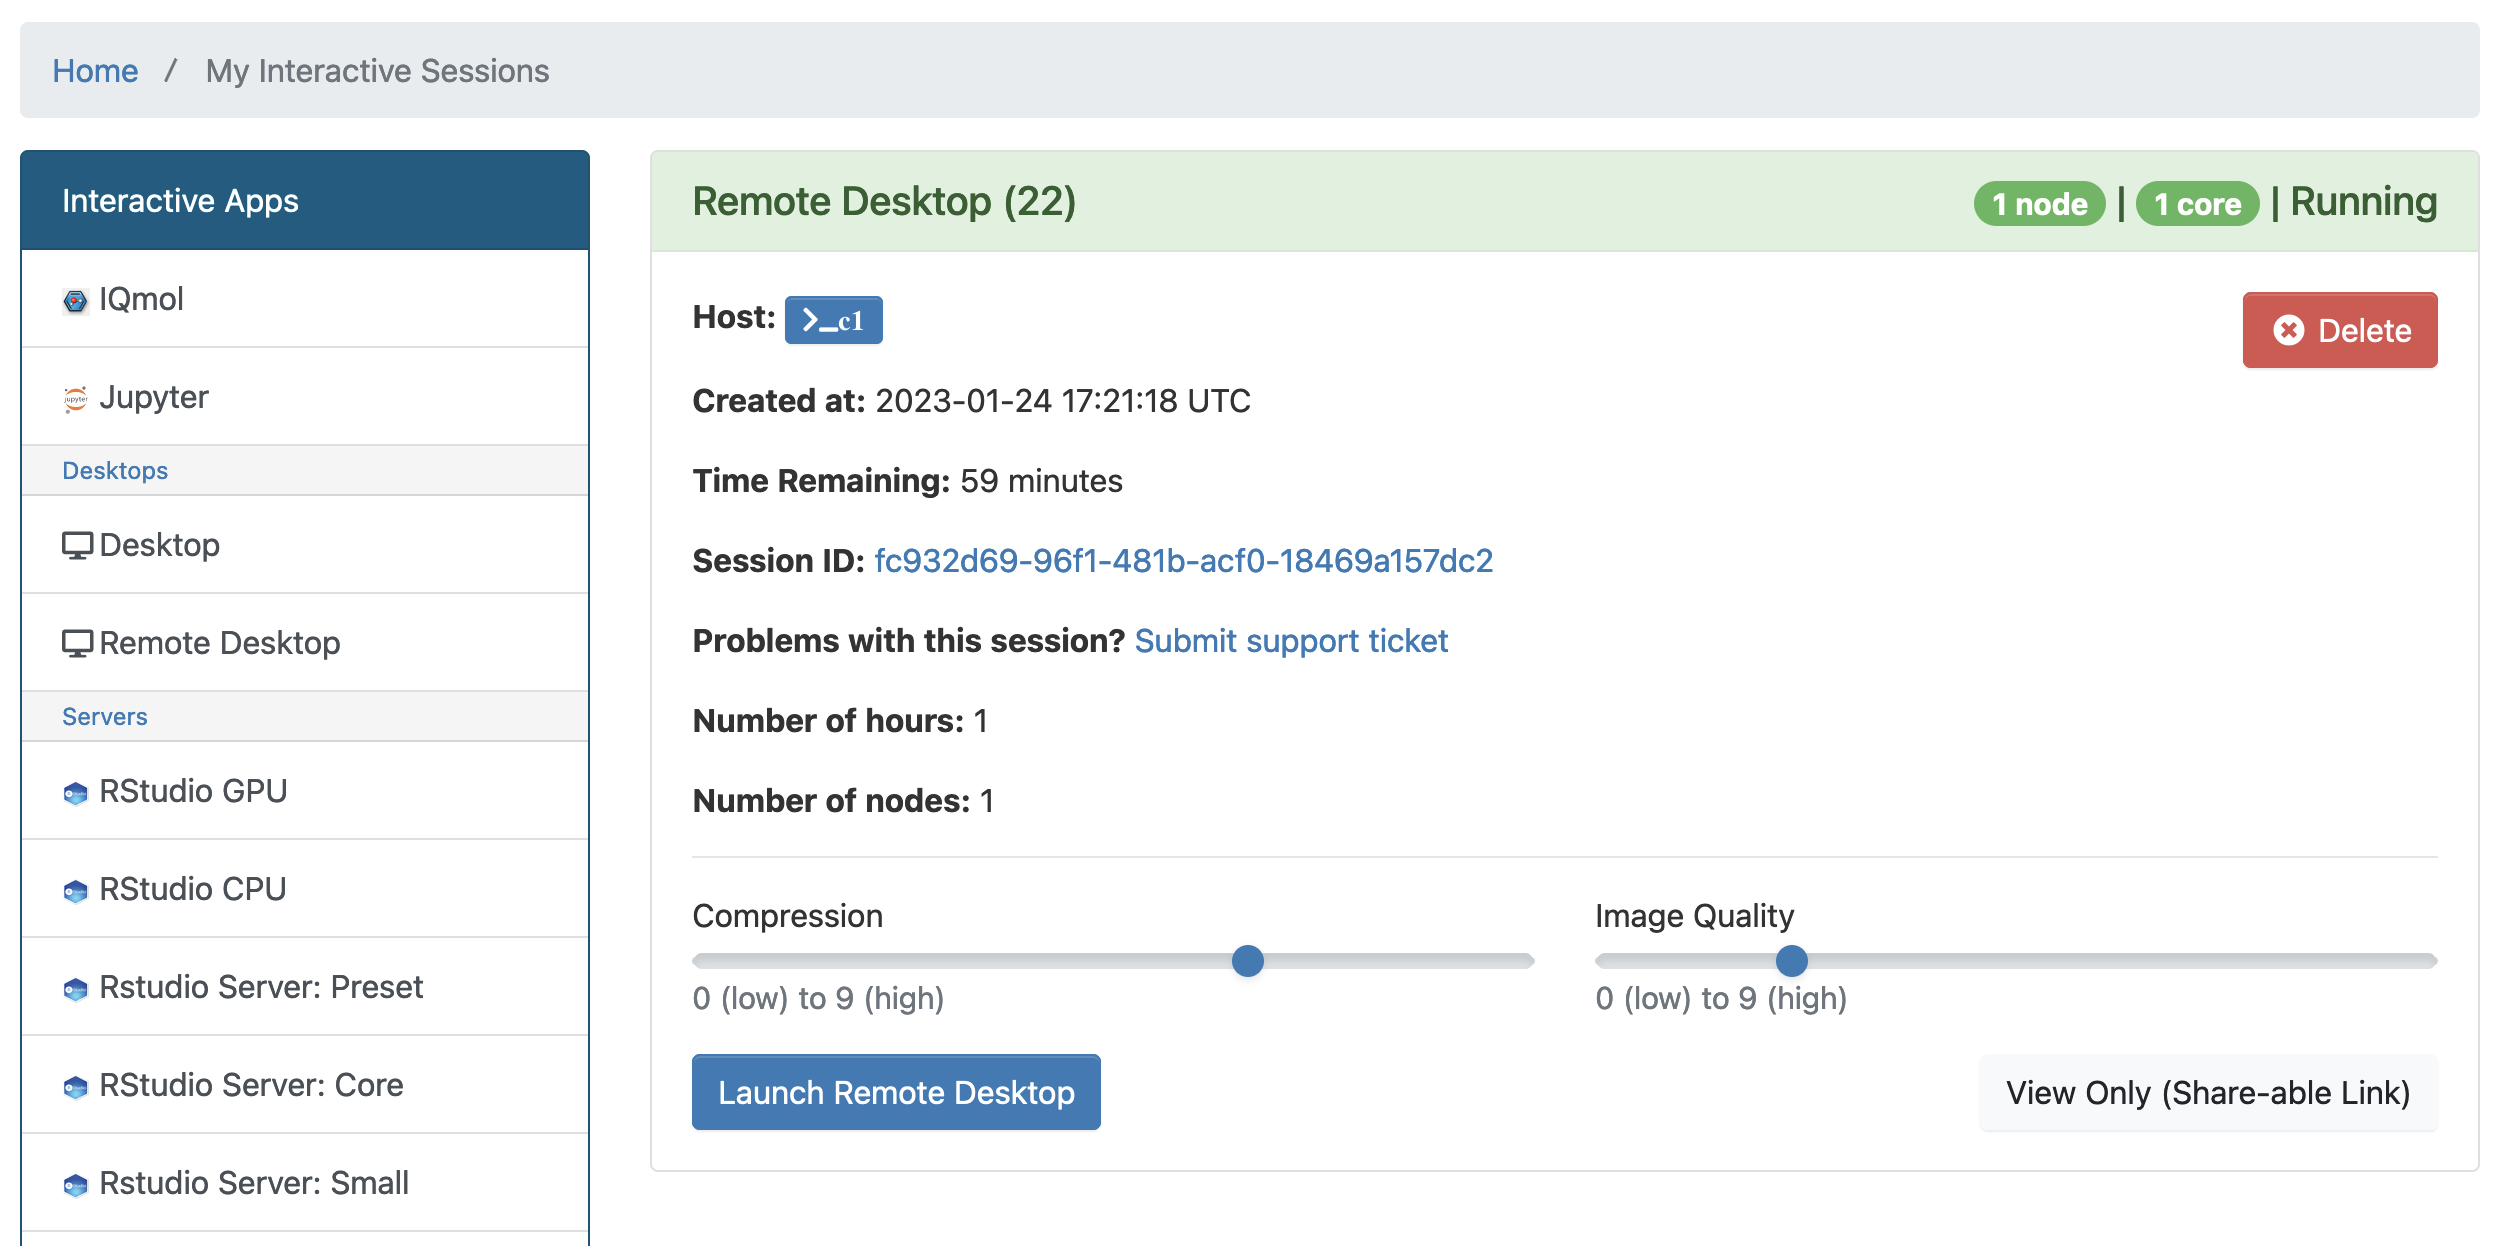
You should now see the HTML form used to gather the user-defined attributes for
building and launching the my_app Interactive App session.
Warning
Since 4.0 HTML IDs of the form items are always lowercase. The examples above
show lowercase configurations of account. Specifying Account,
or ACCOUNT or any variation of uppercase and lowercase will result in
the same behavior as specifying account (all lower case).
If you write your own form.js take care to note that HTML IDs of these
form items will always be lowercase regardless of how they're defined in
the YAML file.
Tip
You can include dynamically generated content in the form by renaming the
form file to form.yml.erb and incorporating ERB syntax.
Warning
Version 4.1 caches the form configuration, so you may not see changes to
form.yml.erb take effect immediately. To get your most recent changes
during app development, you can clear the cache by selecting
Help → Restart Web Server from the top right of the navbar.
Configuration
This is the full list of items with details, you may supply to this YAML file to configure this application.
- cluster (Array<String> or String)
the cluster ids that the Interactive App session is submitted to.
Note
Prior to 1.8, this configuration was a single string (a single cluster). We now support one application submitting to multiple clusters. See the section below on configuring which cluster to submit to for more information.
Warning
The cluster id must correspond to a cluster configuration file located under:
/etc/ood/config/clusters.d
- form (Array<String>)
a list of all the attributes that will be used as the context for describing an Interactive App session
Note
The attributes that appear as HTML form elements will appear to the user in the order they are listed in this configuration option.
- attributes (Hash)
the object defining the hard-coded value or HTML form element used for the various custom attributes
- cacheable (Boolean)
whether or not the application is cache-able or not. Defaults to true.
- form_header (String)
New in 4.0.
Add a text header to the form. Note this is different from the manifest's description as it does not appear as hover-over text.
Attributes
Attributes are variables whose values can be set either by the user from within an HTML form or hard-coded to a specific value in the form configuration. These attributes and their corresponding values are then made available to the Interactive App through its intermediate steps: Render Template and Job Submission (submit.yml.erb).
Predefined Attributes
The Dashboard that supports these plugins provides the plugins with some useful
predefined attributes that can be included in the form: configuration list
with very little or no modification on the part of the developer.
So a very simple form.yml that requests the user input a queue followed by
an account to submit the batch job (interactive session) to, and then
subsequently submits the job to that queue without any customization on the
part of the app developer can look like:
# ${HOME}/ondemand/dev/my_app/form.yml
---
cluster: "owens"
form:
  - bc_queue
  - bc_account
The most commonly used predefined attributes are given as:
bc_account
This adds a
text_fieldto the HTML form that will be used as the charged account for the submitted job.This attribute gets directly set on OodCore::Job::Script#accounting_id.
bc_queue
This adds a
text_fieldto the HTML form that will supply the name of the queue that the batch job is submitted to.This attribute gets directly set on OodCore::Job::Script#queue_name.
bc_num_hours
This adds a
number_fieldto the HTML form that describes the maximum amount of hours the submitted batch job may run.This attribute gets converted to seconds and then set on OodCore::Job::Script#wall_time.
bc_num_nodes
This adds a number field to the html form that describes the number of nodes that a submitted job may use. This attribute then uses the proper value in OodCore::Job::Script#native to reserve nodes with your scheduler.
bc_num_slots
This adds a
number_fieldto the HTML form that describes the number of processors, CPUs on a single node, or nodes that the submitted job may use (depends on the resource manager used, e.g., Torque, Slurm, ...).This attribute manipulates the brittle OodCore::Job::Script#native field with a value that depends on the given resource manager for the cluster.
Warning
This predefined attribute is very resource manager specific, and is the most brittle of all the other predefined attributes. It is recommended to use either bc_num_nodes or auto_cores instead for consistent behavior across schedulers.
bc_email_on_started
This adds a
check_boxto the HTML form that determines whether the user should be notified by email when the batch job starts.This attribute sets value of OodCore::Job::Script#email_on_started depending on whether the user checked the box or not.
Automatic Predefined Attributes
Automatic attributes automatically generate lists or values. For example
bc_queue above will generate a text_field where the user has to
input the queue name themselves.
auto_queues on the other hand will automatically build a list of queues
for the user to choose from without intervention from the administrator
or the user.
They must be added to the form list.
EX:
form:
  - auto_modules_<MODULE>
auto_primary_group
This will automatically set the OodCore::Job::Script#accounting_id to the primary group of the user. No choice will be given to the user.
auto_modules_<MODULE>
This will generate a list of modules in a
selectwidget. For exampleauto_modules_matlabwill automatically populate a drop-down list of every singlematlabversion available, including the default version.To disable the default version, use the
attributesfield like so:attributes: auto_modules_matlab: default: falseTo filter versions that show up in the drop-down list, you can use a Ruby regex (https://rubular.com/) (without the wrapping //) or a string:
Regex:
attributes:
  auto_modules_matlab:
    filter: (intel|gnu)\d*
String:
attributes:
  auto_modules_matlab:
    filter: intel
See the module directory configuration on how to enable the cluster module files that need to be read.
If you have dynamic form widgets enabled, the option list will be cluster aware. Meaning only versions appropriate to a given cluster will be shown when that cluster is chosen.
Sub-modules are also supported by using
/characters. For example if you have theopenmpimodule with two sub-modulesgccandintelyou can add them to your form like so:form: - auto_modules_openmpi/gcc - auto_modules_openmpi/intelHowever, when referencing these in any ERB files you must use
_separators like<%= context.auto_modules_openmpi_gcc %>.Note
The form configuration is case sensitive. So there is a difference between
auto_modules_Randauto_modules_r. The case inform.ymlmust match the case in the cluster module files. However, the case when referenced later must be lowercase. For example, if your module is calledParaView, the form configuration would beauto_modules_ParaView, but referenced inscript.sh.erbas<%= context.auto_modules_paraview %>.Hyphens cause issues in templating the script files. For example, a form configuration like
auto_modules_netcdf-serialwould need to be referenced in thescript.sh.erbas<%= context.auto_modules_netcdf_serial %>replacing any hyphens (-) with underscores_.
auto_batch_clusters
This automatically filters the list of clusters that the user can choose from to remove all clusters using
kubernetes,linux_host, orsystemdas their adapter. It then retrieves information from the scheduler and automatically sets the maximum value of the auto_cores field to the maximum number of cores available on the selected cluster. After this is added to your form you should remove any otherclusters:value from the top of yourform.yml.
auto_cores
This will automatically generate a
number_fieldwidget with an initial value of 1. The maximum value is then automatically set by the auto_batch_clusters selection so that the value falls within the acceptable range for that cluster. It is strongly suggested to always pair this with auto_batch_clusters, as other cluster options, including fixed values, will not set the maximum cores.
auto_groups
This will automatically generate a
selectwidget populated with a list of the Unix groups the user is currently in. Administrators can configure filter for autogroups to limit the groups shown.
auto_queues
This will generate a
selectwidget list of all the queues available to the user. These queues will be cluster aware if you have dynamic options enabled. That is, they'll show or hide relevant lists given the currently selectedcluster.Warning
We only have support for Slurm queues (partitions) at this time.
auto_accounts
This will generate a
selectwidget list of all the accounts available to the user.
auto_accountswill generate cluster aware lists if you have dynamic options enabled. This means it will only show a list of accounts available for theclusterthat's currently selected. If this setting is not enabled, it will generate a list of all accounts available on all clusters and will not hide any of them.If, however, your site has a simpler accounting scheme where all accounts are available on all clusters, you can set the bc_simple_auto_accounts setting for some optimizations.
By default, we return exactly what the scheduler returns. These accounts may be lowercase when you need uppercase accounts. To enable uppercase accounts set the environment variable
OOD_UPCASE_ACCOUNTSto anything. If the environment variable is set to anything the system will uppercase the accounts (set it toyesif you don't know what value to give).Warning
We only have support for Slurm accounts at this time.
auto_qos
This will automatically generate a
selectwidget populated with a list of all the QoS (Quality of Service) values available. These are cluster aware if you have dynamic options enabled.
Customizing Attributes
For each defined attribute in the form: configuration option, you can
modify/override any component that makes up the HTML form element in the
attributes: configuration option, e.g.:
attributes:
  my_custom_attribute:
    label: "My custom label"
    ...
The available configuration options that can be modified for a given attribute are:
- widget (String, null)
For more detailed information with examples regarding the widget field, see Form Widgets.
the type of HTML form element to use for input
check_boxhidden_fieldnumber_field- can usemin,max,step,placeholderradio_buttonresolution_field(used for specifying resolution dimensions necessary for VNC)select- can useoptionstext_area- can useplaceholdertext_field- can usepattern,placeholder
Some other fields that have varying support across different browsers include:
range_field,date_field,search_field,email_field,telephone_field,url_field,password_field.- Default
Accepts any text
widget: "text_field"
- Example
Accepts only numbers
widget: "number_field"
- value (String, null)
the default value used for the input field
- Default
None
value: ""
- Example
Set default value of 5
value: "5"
Warning
Values get cached so that users do not need to repeat previous session submissions. So this default value will only appear for the user if they have no cached value.
- label (String, null)
the label displayed above the input field
- Default
Uses the name of the attribute
- Example
Better describe the attribute
label: "Number of nodes"
- required (Boolean, null)
whether this field must be filled out before submitting the form
- Default
Not required by default
required: false
- Example
Make field required
required: true
- help (String, null)
help text that appears below the field (can be written in Markdown)
- Default
No help text appears below input field
help: null
- Example
Leave a long descriptive help message using Markdown
help: |
  Please fill in this field with **one** of the following
  options:

  - `red`
  - `blue`
  - `green`
- placeholder (String, null)
Example or hint text that is shown inside the field with low contrast when it is empty.
- Default
No help text appears in input field
placeholder: null
- Example
Display recommended value in placeholder
placeholder: "Recommended: 4"
- pattern (String, null)
a regular expression that the control's value is checked against (only applies to widgets:
text_field,search_field,telephone_field,url_field,email_field,password_field)- Default
No pattern
pattern: null
- Example
Only accept three letter country codes
pattern: "[A-Za-z]{3}"
- min (Integer, null)
specifies minimum value for this item, which must not be greater than its maximum value (only applies to widget:
number_field) - Client side validation only.- Default
No minimum value
min: null
- Example
Set minimum value of 5
min: 5
- max (Integer, null)
specifies maximum value for this item, which must not be less than its minimum value (only applies to widget:
number_field) - Client side validation only.- Default
No maximum value
max: null
- Example
Set maximum value of 15
max: 15
- step (Integer, null)
works with
minandmaxoptions to limit the increments at which a value can be set, it can be the string"any"or positive floating point number (only applies to widget:number_field)- Default
No step size
step: null
- Example
Only accept integer values
step: 1
- options (Array<Array<String>>, null)
A list of options for a
selectwidget. In the simplest form you can have a list of strings likechevyin example below. They can also be in the form[<label>, <value>]where label is the HTML label shown in the web page and value is the actual value that will be sent to the server and used.Lastly you can also set extra
dataHTML attributes like the exampleToyotabelow. These extra attributes can be used by JavaScript or options for dynamic options.- Default
No options are supplied
options: []
Example
options:
  - ["Volvo", "volvo"]
  - ["Ford", "ford"]
  - "chevy"
  - [
      "Toyota",
      "toyota",
      data-some-extra-attribute: 'set'
    ]
- cacheable (Boolean, true)
Whether the form item is cache-able or not.
- Default
The item is cache-able.
cacheable: true
- Example
The item is not cache-able.
cacheable: false
- display (Boolean, false)
whether the form item should be displayed in the session card after it was created.
- Default
False. The form item will not be displayed.
display: false
- Example
Display form item in the session card.
display: true
- header (String, null)
Optional markdown header above the item's label that does not respond to dynamic actions on the item.
- Default
No header is displayed.
header: null
- Example
Display a header to mark a section in the form.
header: |
  ## Account and Queue Settings
  - Accounts starting with `P` have access to priority queues.
  - Priority queues lower wait times, but increase charge rates.
- hide_by_default (Boolean, false)
Determines whether the form item is initially shown in the form. If this is set to
true, the form item will not be shown until a data-hide action reveals it.- Default
False. The form item will be shown until a data-hide action hides it.
hide_by_default: false
- Example
Hide the form item on page load, since it is not needed unless a specific option is selected.
hide_by_default: true
Examples
The simplest example consists of only a cluster id
# ${HOME}/ondemand/dev/my_app/form.yml
---
cluster: "owens"
where we expect the Interactive App session to be submitted with the following cluster configuration file:
/etc/ood/config/clusters.d/owens.yml
After modifying the form.yml click Launch My App from the Dashboard
sandbox app list and you should be presented with ONLY a Launch button,
since we didn't define form: or attributes:.
User-defined Attributes
The following configuration file
# ${HOME}/ondemand/dev/my_app/form.yml
---
cluster: "owens"
form:
  - my_module_version
defines a session context attribute called my_module_version.
Warning
Do not use partition as attribute name within the form. The (Ruby)
object created by the form is of type enumerable and partition is
method of that particular class. This causes the value set in the form not
being correctly passed to the submit script.
After modifying the form.yml click Launch My App from the Dashboard
sandbox app list and you will see an empty text box with the label "My Module
Version". The user can input any value here and launch the Interactive App
session. This value will be made available to the batch job script and
submission parameters that are discussed in a later section.
Hard-coded Attributes
The following configuration file
# ${HOME}/ondemand/dev/my_app/form.yml
---
cluster: "owens"
form:
  - my_module_version
attributes:
  my_module_version: "2.2.0"
does two things:
it defines a context attribute called
my_module_versionin theform:configuration optionit then sets the value of
my_module_versionto"2.2.0"in theattributes:configuration option to later be used when defining the batch job script and/or submission parameters
The user will now ONLY be presented with a Launch button in the HTML form
because the attribute my_module_version is hard-coded, so there is no need
for a input text box.
Customize User-defined Attributes
The following configuration file
# ${HOME}/ondemand/dev/my_app/form.yml
---
cluster: "owens"
form:
  - my_module_version
attributes:
  my_module_version:
    widget: "number_field"
    label: "Module version #"
    required: true
    help: "Please input a version number between 1-10"
    min: 1
    max: 11
    step: 1
does two things:
it defines a context attribute called
my_module_versionin theform:configuration optionit then describes the HTML form element to use for the
my_module_versionattribute
Caching form items
Since 1.8 caching form items is configurable. By default all form items are
cache-able. As seen above you can enable or disable caching for the entire app
when using the top level cacheable configuration. You can also configure
on a per item basis through attributes.
Lastly you can also enable or disable this feature for the entire site, using
the configuration OOD_BATCH_CONNECT_CACHE_ATTR_VALUES=false in the
dashboard's environment file /etc/ood/config/apps/dashboard/env.
Tip
Since you can configure caching at different levels the rule of thumb is the closer the configuration is to the form item, the higher the precedence.
Setting the configuration on the attribute overrides everything and setting it on a per app basis overrides the global setting.
Let's see an example. Here, we've disabled caching for the app and did not
set OOD_BATCH_CONNECT_CACHE_ATTR_VALUES, so the site-wide configuration is set
to true by default. So, bc_num_slots and python_version are not cache-able,
meaning the user will have to fill those form entries out every time they submit
the job. But since bc_queue's attribute is set to true, it is cache-able.
# ${HOME}/ondemand/dev/my_app/form.yml
# OOD_BATCH_CONNECT_CACHE_ATTR_VALUES is not set, so defaults to true
---
cluster: "owens"
cacheable: false
form:
  - bc_num_slots
  - python_version
  - bc_queue
attributes:
  bc_queue:
    cacheable: true
Displaying form items in the session card
Now, submitted form values can be displayed in the session card for users to see.
By default, items will not be shown. Add the display property to the form attributes that you wish to show.
Form values will be added after the default session card items. The order is driven from the form array.
# ${HOME}/ondemand/dev/my_app/form.yml
---
cluster: "owens"
form:
  - bc_num_hours
  - bc_num_slots
attributes:
  bc_num_slots:
    display: true
  bc_num_hours:
    display: true
Configuring which cluster to submit to
In 1.8 there are now several ways to configure what cluster to submit to.
The easiest way is to use the the top level cluster configuration. If you've
configured just one item, then the form UI does not change for the user. If
you configure an array of two or more options then a select drop-down will
automatically be added to the top of the form.
# ${HOME}/ondemand/dev/my_app/form.yml
# which will generate a drop-down select automatically
---
cluster:
  - "cluster1"
  - "cluster2"
Tip
GLOBs are also supported. So in the example above one entry of cluster*
would have been equivalent to explicitly configuring both cluster1 and
cluster2.
This means you could configure cluster: "*" to be able to submit to all
clusters.
If you would prefer to use some other widget, or you wish to change the text being shown in the UI you can configure a cluster form item and specify it's attributes. This gives you some flexibility in the form UI instead of the default select widget that shows all lowercase cluster names.
Here's an example were the user will be shown a select drop-down menu item with different text than the default.
# ${HOME}/ondemand/dev/different_select_cluster/form.yml
---
form:
  - cluster
attributes:
  cluster:
    widget: "select"
    options:
      - ["The first cluster", "cluster1"]
      - ["The second cluster", "cluster2"]
The last option is to configure the cluster in the submit file.
When using this option, there's no need to add any cluster configuration to the
form.yml.
Global Batch Connect Form Items
Since version 4.0, you can define form items once in an ondemand.d file
that can be used in all batch connect applications.
Warning
Global batch connect items need to have the prefix global_ otherwise
OnDemand won't recognize it as a global configuration.
Defining a global batch connect form item is just like specifying Attributes
above. Only the location is in an ondemand.d file in /etc/ood/config/ondemand.d
under the global_bc_form_items key.
Here's an example of defining a select widget with options called global_queues.
Note the appropriate prefix of global.
# /etc/ood/config/ondemand.d/global_bc_items.yml

global_bc_form_items:
  global_queues:
    widget: select
    options:
      - [ 'any', 'any' ]
      - [ 'gpu', 'gpu' ]
      - [ 'special', 'special', data-option-for-cluster-not-special: false ]
Then to use this form item, one simply needs to specify it in the form section
of the file and it will display the select widget defined above.
# form.yml
form:
  - global_queues
As of version 4.1, you can use these global items to override predefined attributes in the form. This is done
by specifying the attribute name prefixed with global_ under your global_bc_form_items key, and only
defining the options that you would like to override. For example, you could override bc_num_hours to
have a maximum value of 100 using the following code in your ondemand.d file.
# /etc/ood/config/ondemand.d/global_bc_items.yml

global_bc_form_items:
  global_bc_num_hours:
    max: 100